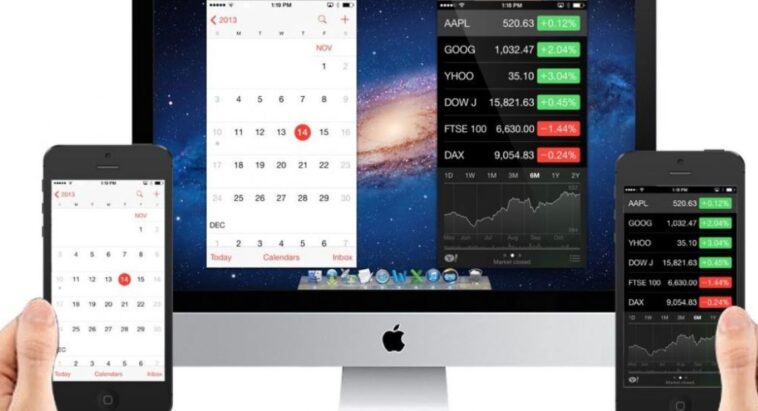
If you’ve ever wanted to share your iPhone screen or audio to your MacBook, you’re in the right place. This blog will guide you through the process of using Apple’s proprietary streaming technology, AirPlay, to do exactly that.
Before we start, please be advised that your iPhone and MacBook must be on the same Wi-Fi network to stream content using AirPlay.
How to stream iPhone on Mac| 4 steps
- Preparing Your Devices
- Setting up AirPlay on MacBook
- Connecting Your iPhone to MacBook via AirPlay
- Troubleshooting Common Issues
1. Preparing Your Devices
Required Tools and Software:
- An iPhone: You should have an iPhone with iOS version 12.0 or later.
- A MacBook: The MacBook should be running macOS Mojave 10.14.5 or later.
Firstly, make sure both your devices are updated to the latest version of their operating systems. This is important as AirPlay compatibility is often updated and improved in new software versions.
Updating Your iPhone:
Navigate to Settings > General > Software Update on your iPhone to check for updates.
Updating Your MacBook:
On your MacBook, head over to System Preferences > Software Update.
2. Setting up AirPlay on MacBook
Apple doesn’t officially support AirPlay reception on MacBooks as of my knowledge cutoff in September 2021. However, several third-party apps enable this functionality, such as “AirServer” and “Reflector”. For this guide, we’ll use “AirServer”.
Steps to install AirServer:
- Download the App: Visit the AirServer website and download the application suitable for your MacBook’s OS. Please note, this is a paid software with a free trial available.
- Install the App: Open the downloaded file and follow the instructions to install AirServer on your MacBook.
- Open the App: After installation, launch AirServer. You may be prompted to allow the app to access your network, and accept it.
3. Connecting Your iPhone to MacBook via AirPlay
Once your MacBook is set up to receive AirPlay signals, the next step is to start streaming from your iPhone.
- Enable Wi-Fi on both devices: Make sure both your MacBook and iPhone are connected to the same Wi-Fi network.
- Access Control Center: On your iPhone, swipe down from the top right corner of the screen to access the Control Center.
- Tap on Screen Mirroring: Here, you’ll see an option labeled ‘Screen Mirroring.’ Tap on it.
- Select your MacBook: A list of available devices will appear. Your MacBook should be on this list, provided both devices are on the same network and AirServer is running. Tap on your MacBook’s name.
- Start streaming: Your iPhone’s screen should now be mirrored on your MacBook. Anything you do on your iPhone will be displayed on your MacBook’s screen.
4. Troubleshooting Common Issues
Sometimes, you might run into issues while trying to connect your devices. Here are a few common issues and how to troubleshoot them:
- Device not appearing in the list: Ensure both devices are on the same Wi-Fi network. Also, check if AirServer or your selected app is running on your MacBook.
- AirPlay disconnects or lags: This could be due to a slow or unstable Wi-Fi connection. Try moving closer to your Wi-Fi router, or consider upgrading your internet plan for a more stable connection.
- Audio not streaming: Check your iPhone’s audio output. Navigate to
Control Center > Music Controls > AirPlayand make sure your MacBook is selected.
Wrap Up
In conclusion, streaming from your iPhone to your MacBook via AirPlay is a relatively simple process requiring some setting up. Enjoy exploring this feature and discovering how it can enhance your Apple experience!

